This is a straightforward, step-by-step DIY tutorial for tiling bathroom walls.
The majority of wall tiling tasks will cost professionals upwards of €21 per m2, but if you’re trying to save money on your makeover, it’s well worth doing the tiling yourself.
Even a beginner may tile well, and preparation and careful planning are the keys to success.
The first step is to determine how many tiles you’ll need (including an excess for “wastage” – in other words, breakages and cuts).
On their websites, the majority of manufacturers and suppliers provide recommendations detailing how many square metres of wall each pack of tiles can cover. Compare this to your needs, then add around 11% for waste and spares.
making ready the wall
In order for tiles to adhere well, new walls should already be sufficiently prepped (you might need to score plaster with your notch trowel to provide a good “key” for the adhesive to cling to).
To ensure that the adhesive and tiles adhere effectively and are level, the existing walls may require some repair.
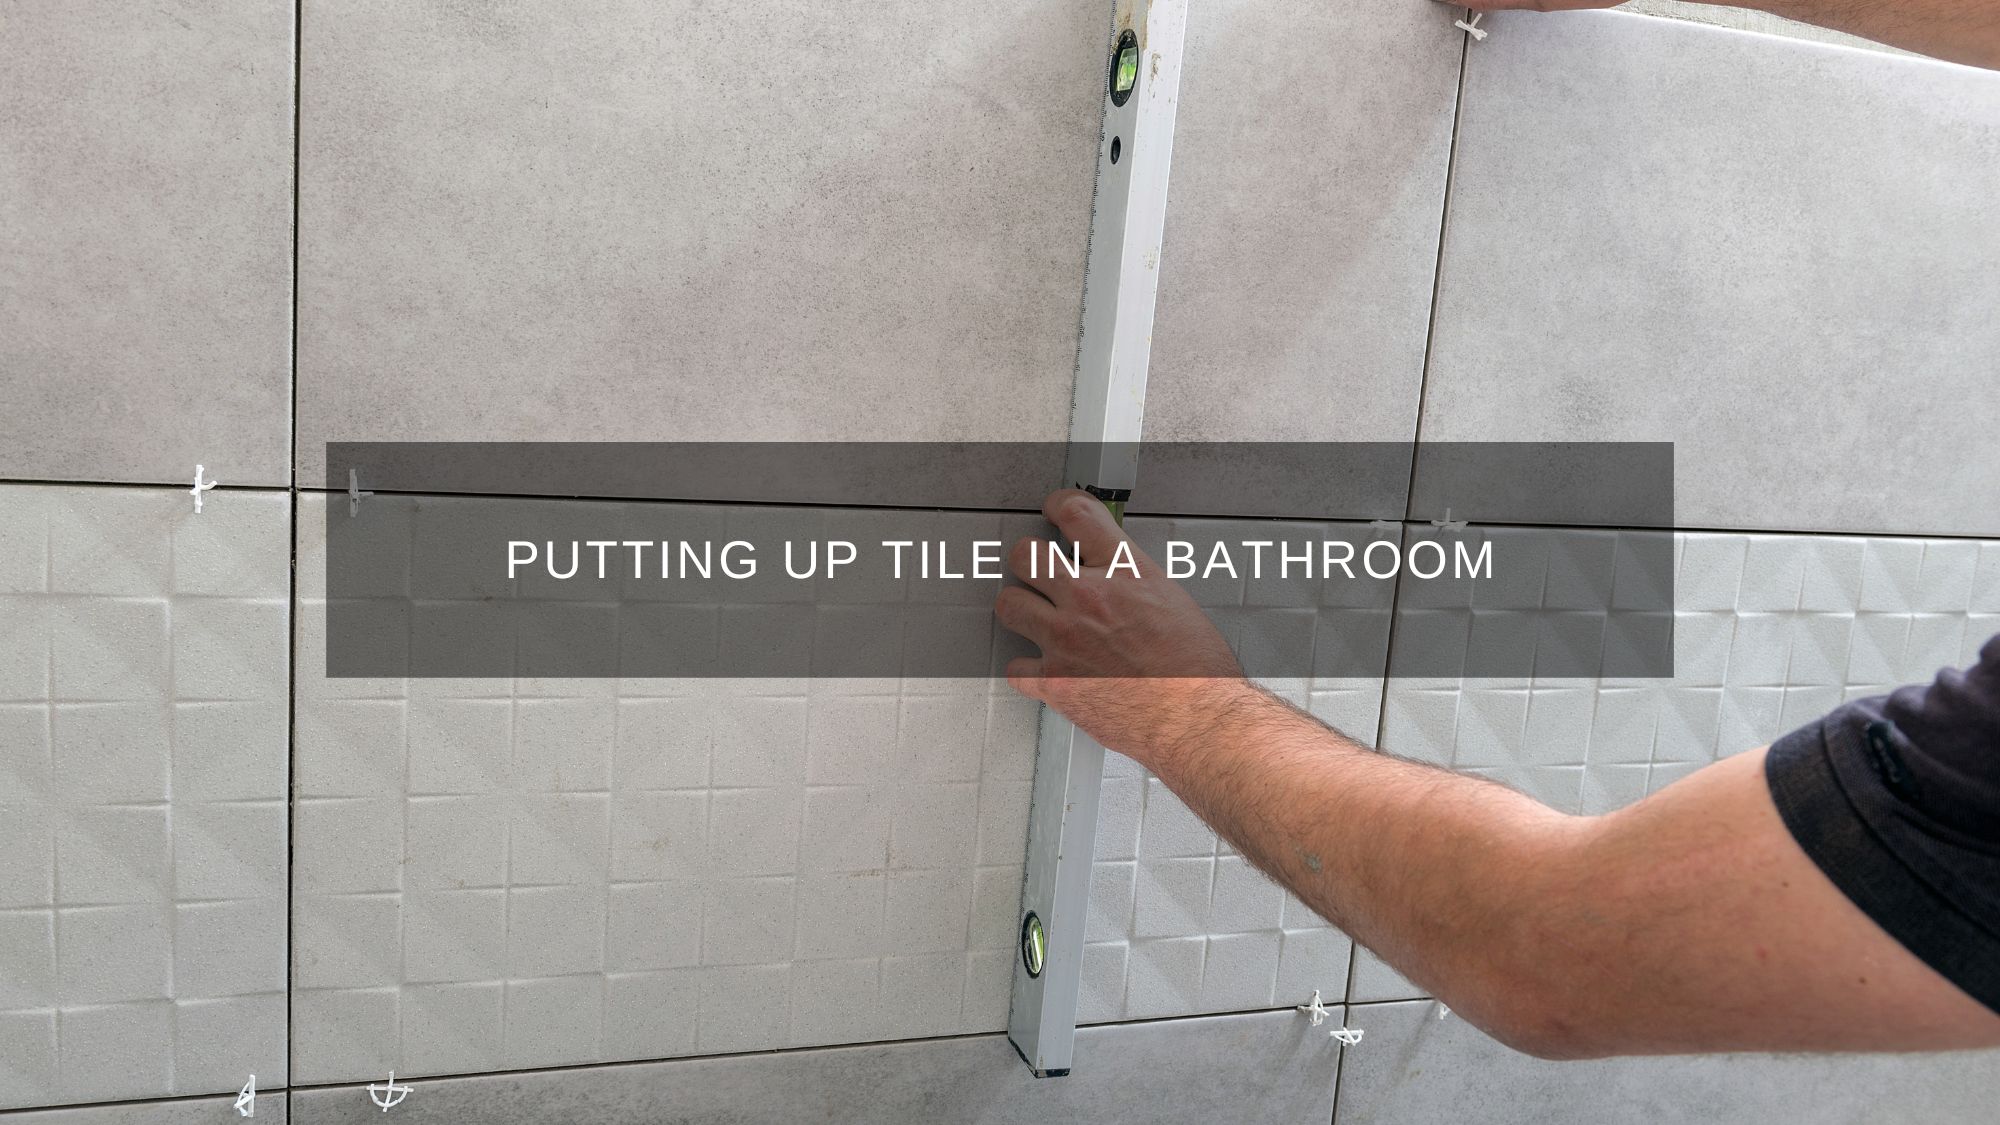
In the instructions below, our skilled professional just manually put the tiles into position and visually verified that they were level.
To obtain a smooth surface all around, you might opt to softly push a straight-edged baton across a few tiles diagonally.
Tutorial for tiling a wall
You will require
- tile spacers and tiles
- Tile cement
- An angled trowel
- scoop trowel
- Sticky knife
- Cutting tools and a tile saw
- hole saws and tile.
- Square up
- Pencil
- Measurement tape
- Drill
- sponge
- Level spirit
- Tile edging
- Grout
- Murph squeegee
- mixing bowl
- Wood length
1- Start by creating a gauging stick to assist you decide where to place your tiles. Lay a piece of lumber out on the ground. Make a mark on the wood where the tile ends by placing a tile on it lengthwise, flush with one end of the stick.
2- Mark where this tile finishes before inserting a second tile after it (separated by tile spacers). Once you’ve used up all the space on the stick, repeat the process. Remove any extra wood using a saw before crafting another stick to fit the tile’s width.
3- The first wall you’ll be tiling is how wide you should measure it. To locate the wall’s centre, divide this in half. Mark a vertical line from floor to ceiling using a spirit level and a pencil at this location before locating and drawing the horizontal centre line.
4- By holding your measuring stick up to the lines you’ve drawn on the wall, you can determine where the tiles will begin and stop. Determine tile placement and make the necessary cuts. For a decent finish, aim for equal cuts at the top and bottom and left and right edges of the wall.
5- Start with the first tile at floor level and raise it with spacers to create room for the grouting gap. Mark the tile for the first cut while holding it up against the wall’s line. Place the tile in the cutter, making sure the blade completely aligns with the drawn line.
6- Use a single rotation of the scoring wheel to move the blade down the front of the tile to make the cut. Just enough pressure should be used to leave a score along the whole surface. To snap along your scored line, move the wheel to the tile’s centre and pull down the handle.
7- Using a trowel with a notched edge, apply glue to the reverse of the cut tile. Place the tile on the wall and firmly yet gently press down. Since the wall in this project has cuts around the bath, we installed one vertical column of tiles with spacers in between each one.
8- Use your spirit level to draw a horizontal line above the tub at the spot where the top of the tiles is higher than the top of the bath. Tiles put below this line must be trimmed to size in accordance with steps 5 and 6.
9- You might need to make a shaped cut where the tiles meet the rim of the bath. Offer the tile to the location where the lip’s position and the depth of the cut are not advertised. Extend these instructions with a square to make the cut template.
10- Use the tile saw to cut the tile down both sides of the lip you’ve drawn out while wearing safety goggles and gloves. Continue cutting the portion at 11mm intervals, then use tile cutters to nibble these cuts, or “fingers,” off. Smooth off any sharp edges.
11- Utilizing spacers along the top of the bath to create room for the sealant, apply glue to the back of the cut tile and press it into place. Cut the rest of the tiles to size and mount them to the wall along the top of the bath, again using spacers.
12- Now that the intricate incisions have been done, you may apply glue straight to the wall. Attain a single square metre at a time. Carefully place the tiles using both horizontal and vertical spacers. Cut in any remaining tiles at the edges to complete the wall.
13- Use a spirit level to continue the lowest cut’s line on the neighbouring wall. Set up as in stages 3 and 4, then cut and install the first tile with its centre at the vertical line at the top of the bath. the rest of the tiles into
14- At external corners, wall trimmings are necessary for both safety and a nice finish. Cut the trim to the proper length, apply a small layer of glue to the wall, and then insert the trim. Scrape off any extra adhesive before using a moist sponge to wipe the trim’s front.
15- To cut tiles around pipes, indicate the height and breadth of the cut on a square tile. With your square, draw a box around the form, and then make a circle with a piece of leftover pipe. Mark the centre, use the tile hole cutter to drill, and then smooth the edges.
16- Before grouting the tiled walls, let them dry completely. Fill a clean bucket with water, gradually add the grout, and stir until the mixture is creamy. Before using it, wait five minutes.
17- Scoop some grout onto a squeegee with your trowel. Apply to the tile’s face, being sure to fully saturate the joints to prevent air bubbles. Cover a portion of the wall, remove any excess, and then go on.
18- After 11 to 15 minutes, wash it off with a moist sponge while holding it flat to prevent digging the grout out of the joints. Regularly rinse the sponge. After finishing the wall, wait five minutes before starting over. Then polish with a soft, dry cloth after it has been sitting for 31–61 minutes.
Top advice
-
-
- In the corners of a bathroom, sanitary silicone that is flexible is always preferred over grout. The junction of two walls in a moist environment may be prone to differential movement, which might result in cracked grout.
-
- Before beginning the sealing process around a bath, half-fill the tub with water. Apply the silicone, let it cure over night, and then drain the bath the following morning. The silicone won’t split in the future as a result of this.
Bathroom tile selection
Bathroom tiles are a cheap and practical way to add personality.
The materials you choose will influence on how it will appear, how much money you have, and how much maintenance it requires.

